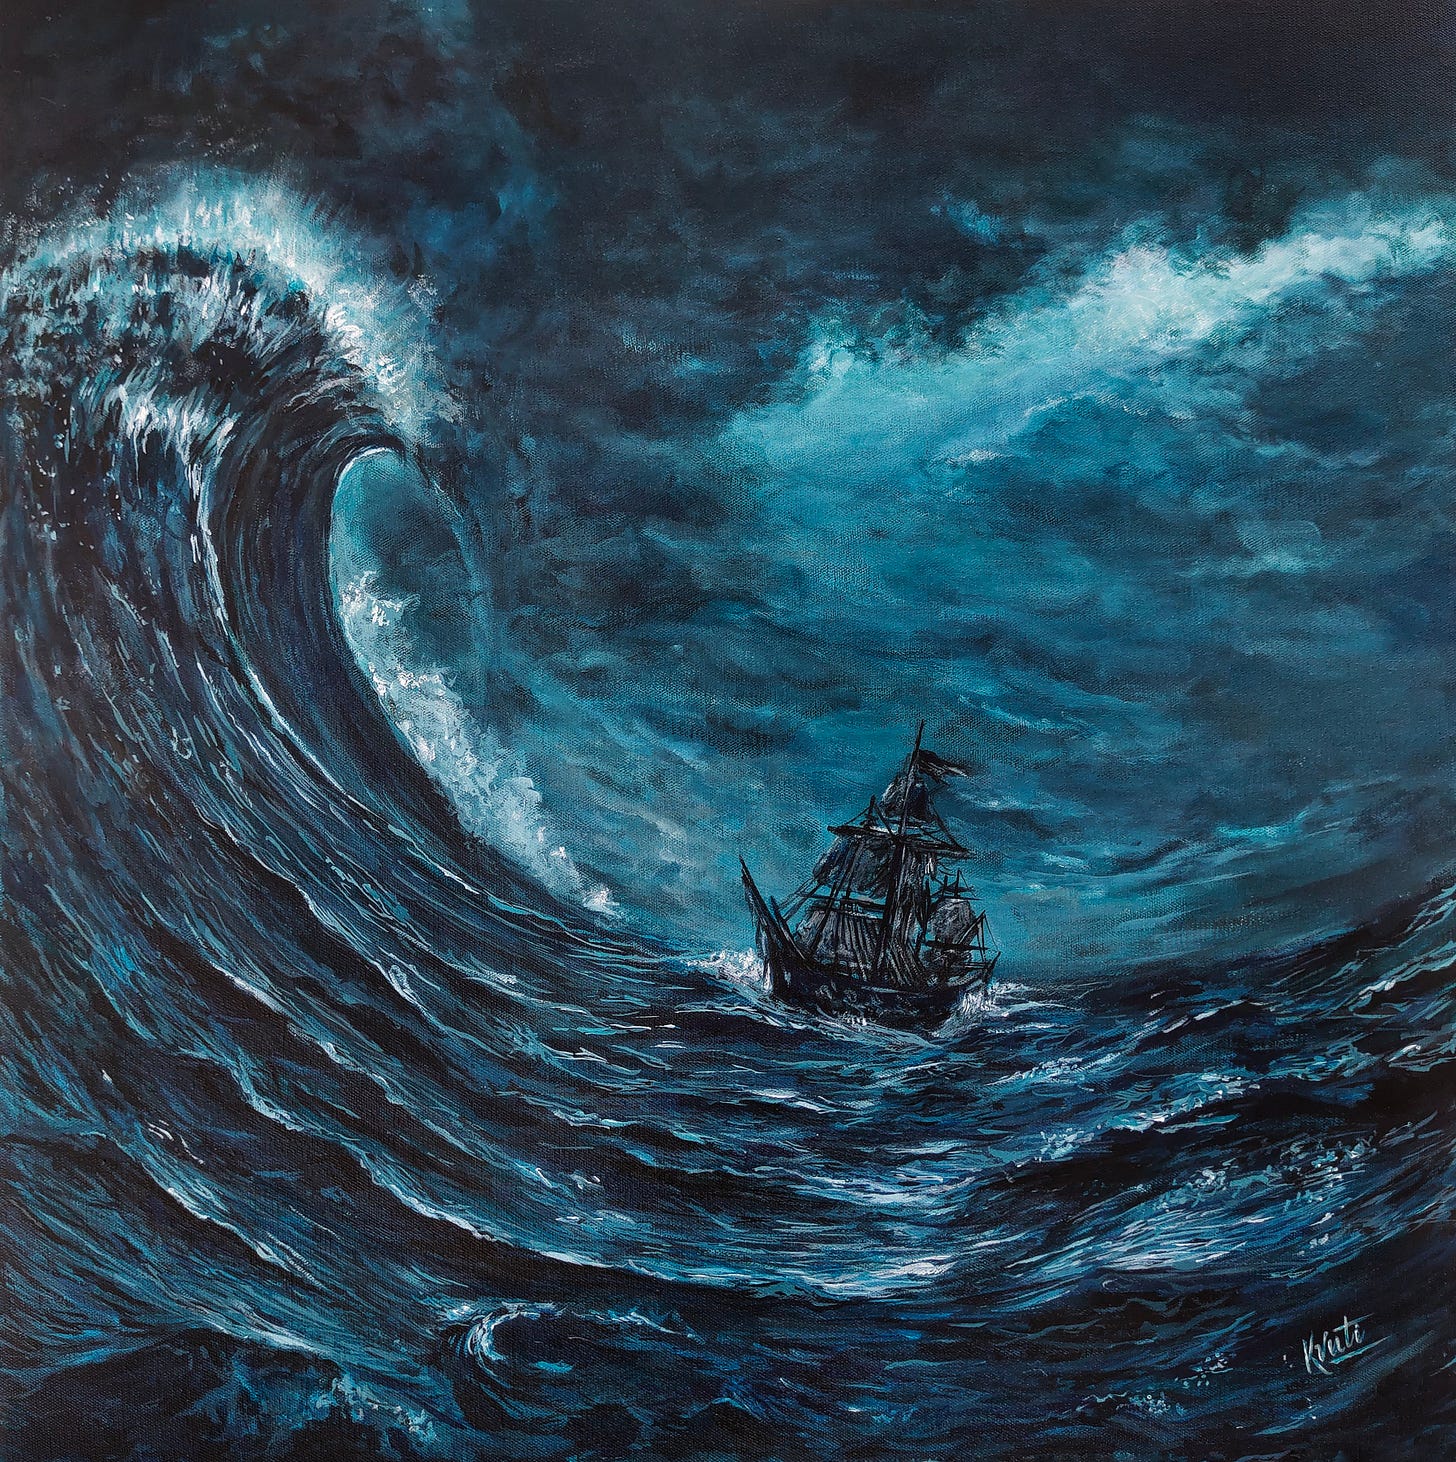
The Stormy Night - An Atmospheric Painting
Tips on painting in realism
I had a stretched canvas on hand and was having trouble deciding what to paint on it. I got out some charcoal and drew a girl's portrait. This girl was supposed to be a symbol of strength and femininity. It took me about two days to sketch this out, and I didn't like how it turned out. I was no longer in the spirit to paint this, so I simply washed it with white paint and sketched a hastily drawn wave. I simply want to debunk the misconception that you can't make mistakes on a canvas. You may always start over with acrylic paints on canvas, which are one of the most forgiving mediums.
I've always wanted to paint water, especially a stormy wave with a ship, using the technique of realism. I had no idea how I was going to go about it, so I just trusted my colour recognition abilities and techniques of realism that I learned from Chuck Black’s tutorial video. I chose a limited colour palette because I believe that great paintings are born by experimenting with fewer colours. On a sidenote, if you ever want to strengthen your colour theory, all you have to do is paint with one colour along with black and white.
For this painting I used the following colours:
Turquoise blue: It creates a greenish tint; if you don’t have it, you can mix primary blue (Pathallo blue or Ultramarine blue, depending on your set) and add little Sap Green. It’s all about practice when it comes to mixing colours; you’ll get there eventually.
Prussian Blue: It is one of the darkest colours; if you don't have it, mix a small amount of black with the blue you already have. However, I believe you should include this colour in your collection.
Titanium white: An opaque white which appears bright.
Zinc White: It is a transparent white that won't leave any hard edges and will blend well, especially when adding highlights. It's also known as Mixing White. It has a softer, more delicate tone to it.
Black: Be careful with this one; if you don't apply it correctly, it can make your painting muddy. I don't typically use black in my paintings because pure black doesn't exist in nature, but I wanted to create dramatic contrasts and a dark atmosphere.
Steps to painting in realism:
Underpainting
This step is often overlooked and I believe it is one of the most critical steps. At this point, your artwork will appear unattractive. All you have to do now, is lay down the colours, shadows and tones throughout the entire canvas. A flat hog hair brush is recommended for getting the paint into each grain of the canvas. The paint must be rubbed in well. When rubbing paint in, avoid using a synthetic brush because it will ruin the brush. Remember not to get caught up in the details; the goal here is to create shapes and focus on broader sections.An underpainting should look somewhat like this.
Define shadows
Here, you just need to paint the dark and light areas. I’m not talking about highlights; it’s something that comes later. You're just transitioning from an underpainting to a more defined painting. You should still avoid going into specifics. This stage will appear differently to each individual because we all perceive images differently. You are just trying to get an idea of what’s going on.For me, this step looked like this:
Add Details
This stage will take a lot of time as the painting will come to life after adding details. You should do this slowly and patiently. Remember to take breaks. Normally, you should paint what you see when using a reference image. Artists do not recommend zooming an image as it leads to mistakes in proportions. However, for this particular painting, I zoomed the image and painted each stroke. I was careful with the proportions. It is important to use the correct colour. For these fine strokes, use a detail brush or a small flat brush. It was not making sense for me, as I could only see lots of strokes, but if you ask anyone else, they will see real water.A small area of what the details looked like. If you notice, I still haven’t used pure white, it is a bit grey.
Adding Highlights
The artwork is finished when you add highights as this is when it all comes together and alive. Adding pure white for every highlight will ruin the essence of it, so just add it where it is required. You can also use a combination of light greys along with whites.
The final painting:
The Recreation
I got a commissioned order for recreation of The Stormy Night with the ship approaching the wave, and the painting demanded a sense of doom and dread. Since the original took me around seven days, I expected this recreation to take about two weeks. However, I spent the most time on this one and it took me more than a month to complete. The reason for this is that there is added pressure to create something better while also replicating the original. The reproduction, in my opinion, is far better than the original.
A video depicting the stages of painting:
Happy Creating.


The original ship 🚢 seems a bit fearful and the reproduction seems strong and brave to conquer fierce appearing storms. The way you explained the entire time you dedicated to this art is amazing. This art is my favorite and color choice is very intriguing. I could feel the strong vibration coming from this art. 🤩